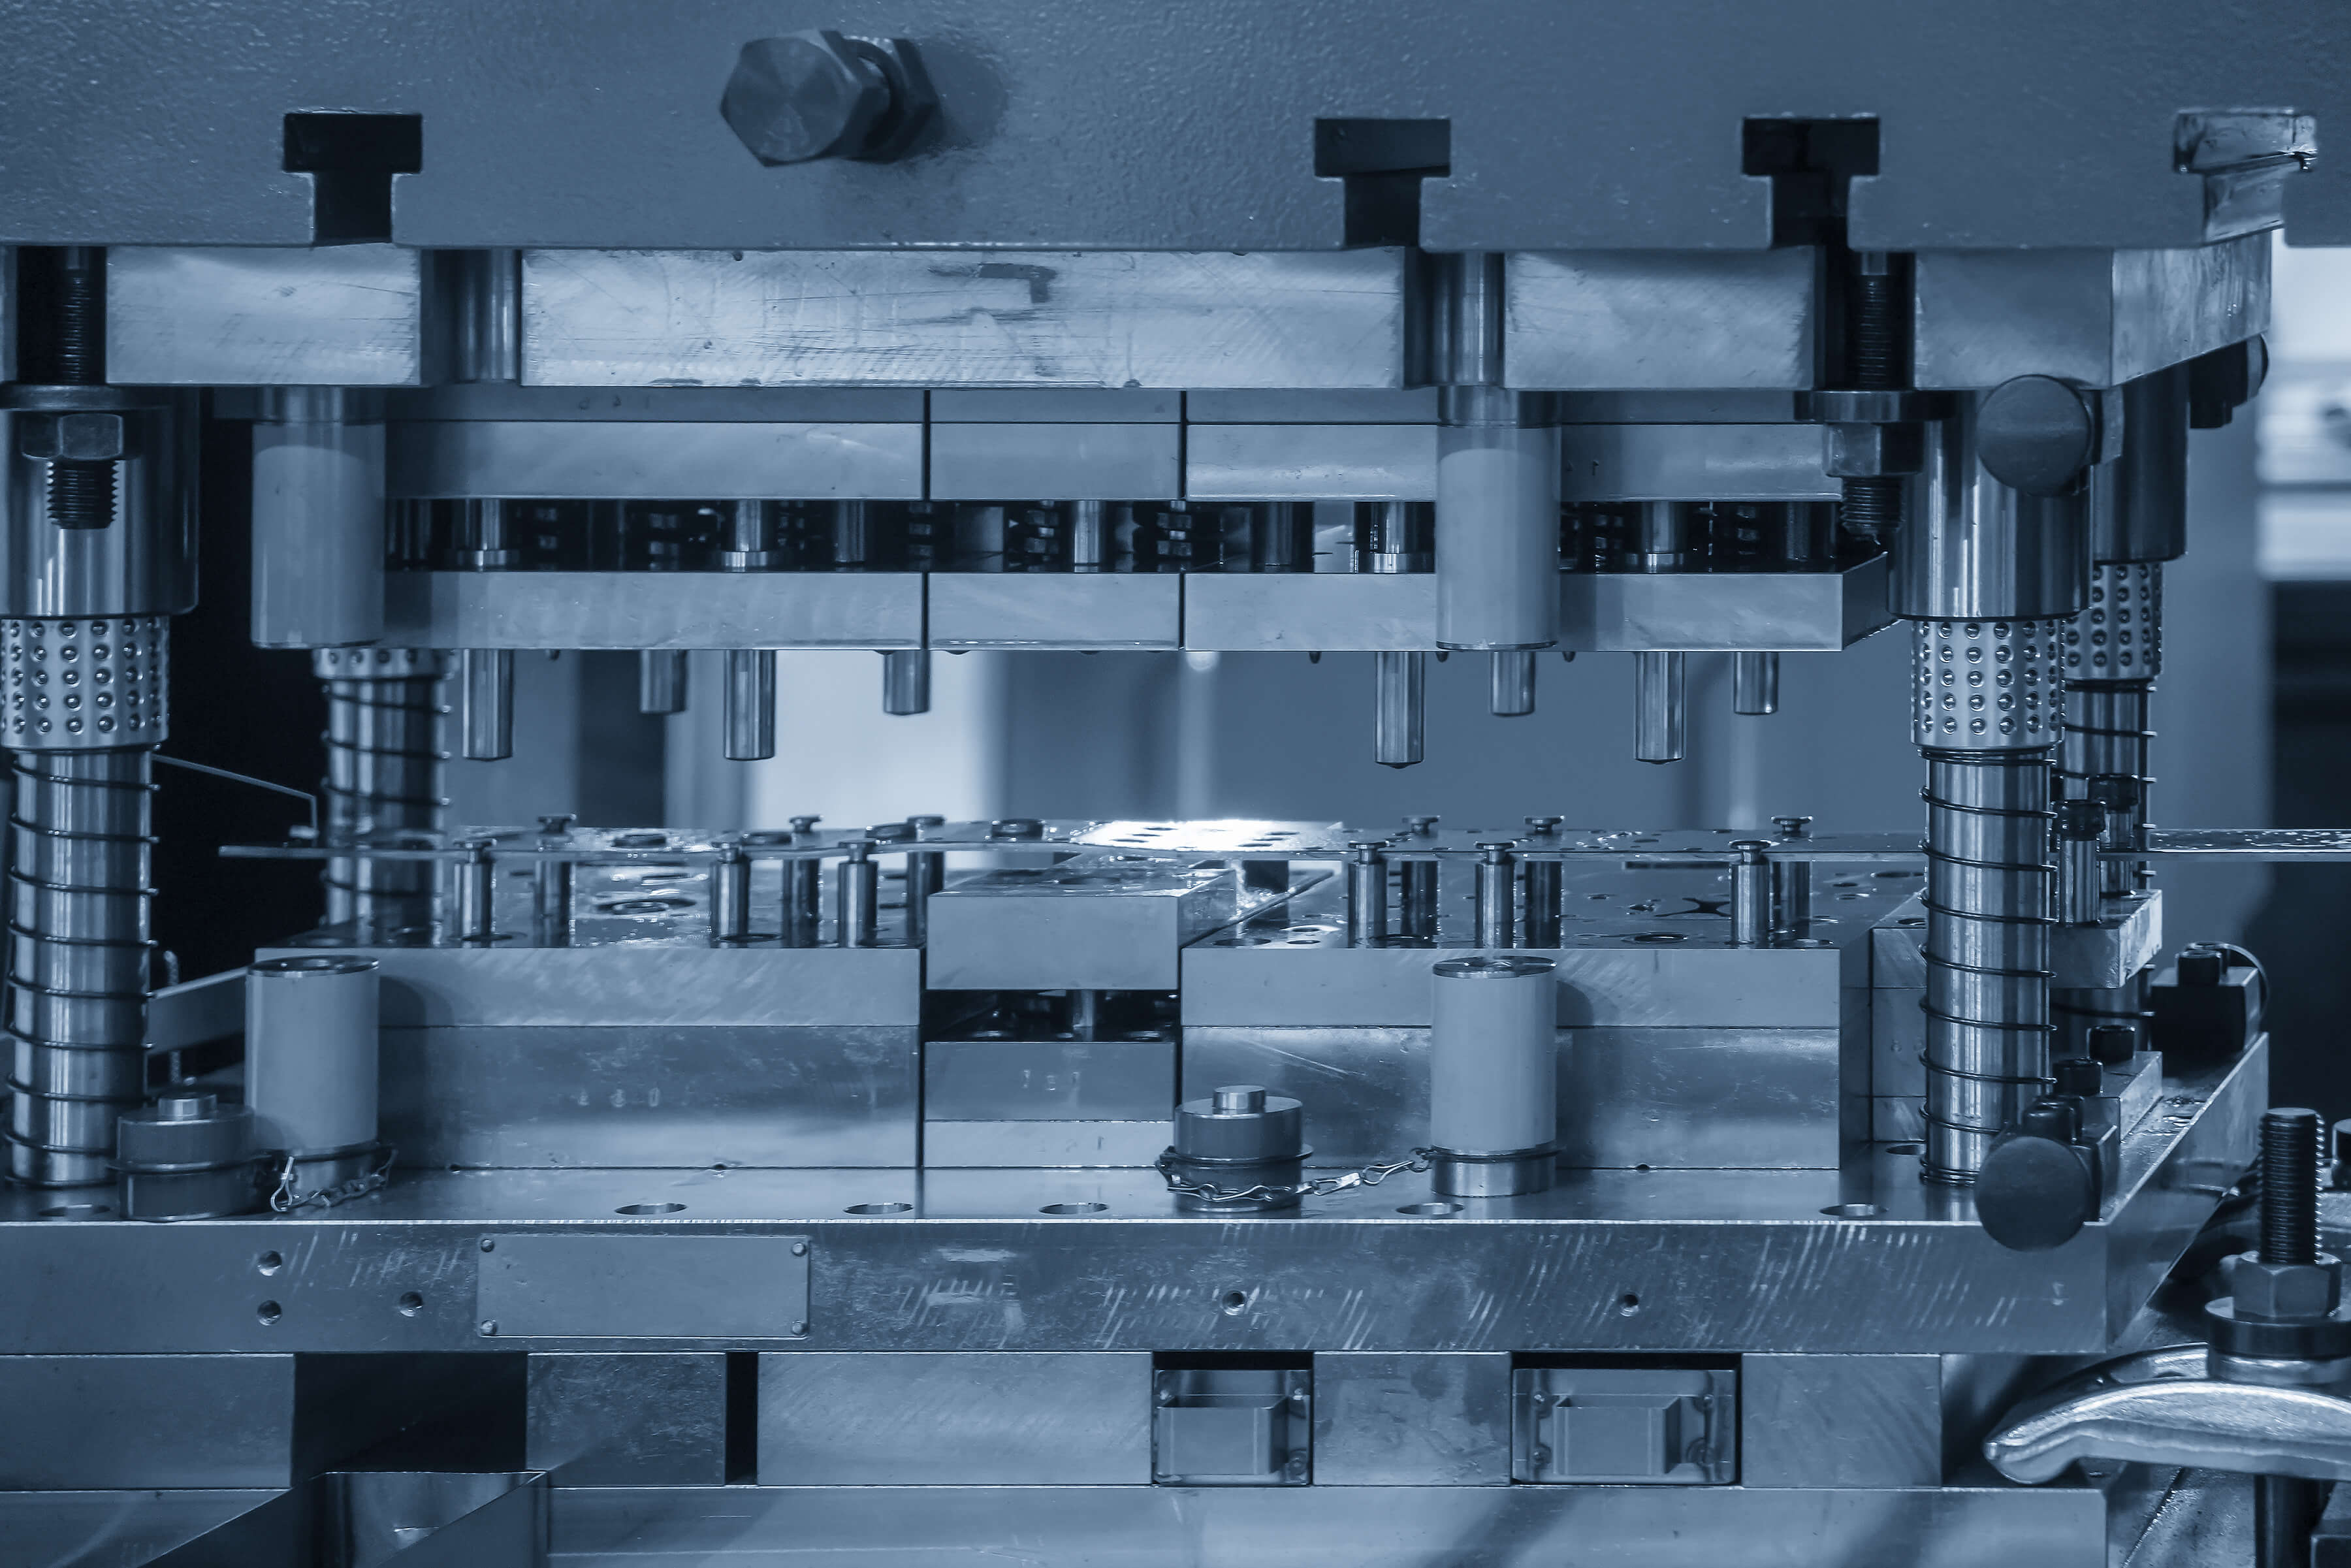

MOULD TRIAL PROCESS
Following the completion of the injection mould manufacturing, the next step is mould trial or testing. During the trial, we check some important information to avoid any mistakes, such as the plastic material, colour of the sample, quantity of samples required by the customer, important dimensions to be checked during the mould trial, and so on. The injection mould trial techniques and processes carried out by our skilled team are listed below.
- Adjusting the temperature of the barrel in accordance with the material supplier's requirements. If we don't have a date sheet, we use the mould flow report to determine the middle of the suggested temperature in the front and the lower end of the recommended temperature in the back. Using the air shot approach, We are able to record the actual melt temperature.
- Set the mould to the centre of the prescribed temperature range. We also ensure that the actual mould temperature is correct throughout production.
- Clamping force is set according to the needed or chosen value, or the maximum clamping force of the machine supplied by the customer.
- Time to attain ejection temperature is used to calculate cooling time.
- Before injecting, set the injection pressure to the highest and make sure the mould is clean.
- If necessary, set injection speed to 50% of the customer's machine; otherwise, set houlding speed to 5-10% of our machine.
- At the start, set the houlding pressure to zero.
- Gradually increase the shot size until the components are 90% filled. Variation in the cavity is being examined. If a cavity variation of more than 7% is discovered, it should be noted and marked as a problem that has to be addressed.
- Increase the shot size until the components are completely filled; portions can sink but not fall short. Make a note of any flash, burns, or air traps on parts that need to be repaired.
- The shot size is set at 97 percent full, with an expected houlding time.
- Set the houlding pressure to half the injection pressure.
- Begin a gate freeze study and utilize houlding time to determine where gate freezes occur.
- Changing the cooling time based on the type of plastic.
- Keeping track of the weight of full shots.
- Increase the houlding pressure until the part weight does not increase any further
- Adapting the cycle time to the needs of the customer. Assuring that the tool can execute at the specified cycle time. By above injection mould trial processes, the mould should be running very well at our customer’s mould shop.
- Marking runoff samples with their trial number and date is critical information for us to determine whether samples are from a prior trial period, amount acording to client specifications, and whether or not components are acceptable. The samples are always provided with one balancing shot and 2-3 runners
The mould should operate extremely smoothly in our customer's mould shop as a result of the aforesaid injection mould trial methods.