MOULD SERVICES OR REPAIRING
The following is an overview of the eight repair steps and the key elements of each step. The attached organizational chart illustrates the order.
PM PREPARATION
One of the most important aspects of our mould maintenance strategy is to provide technicians with a historical record of previous concerns and corrective efforts so that they are aware of any long-standing or unresolved issues during repairs.
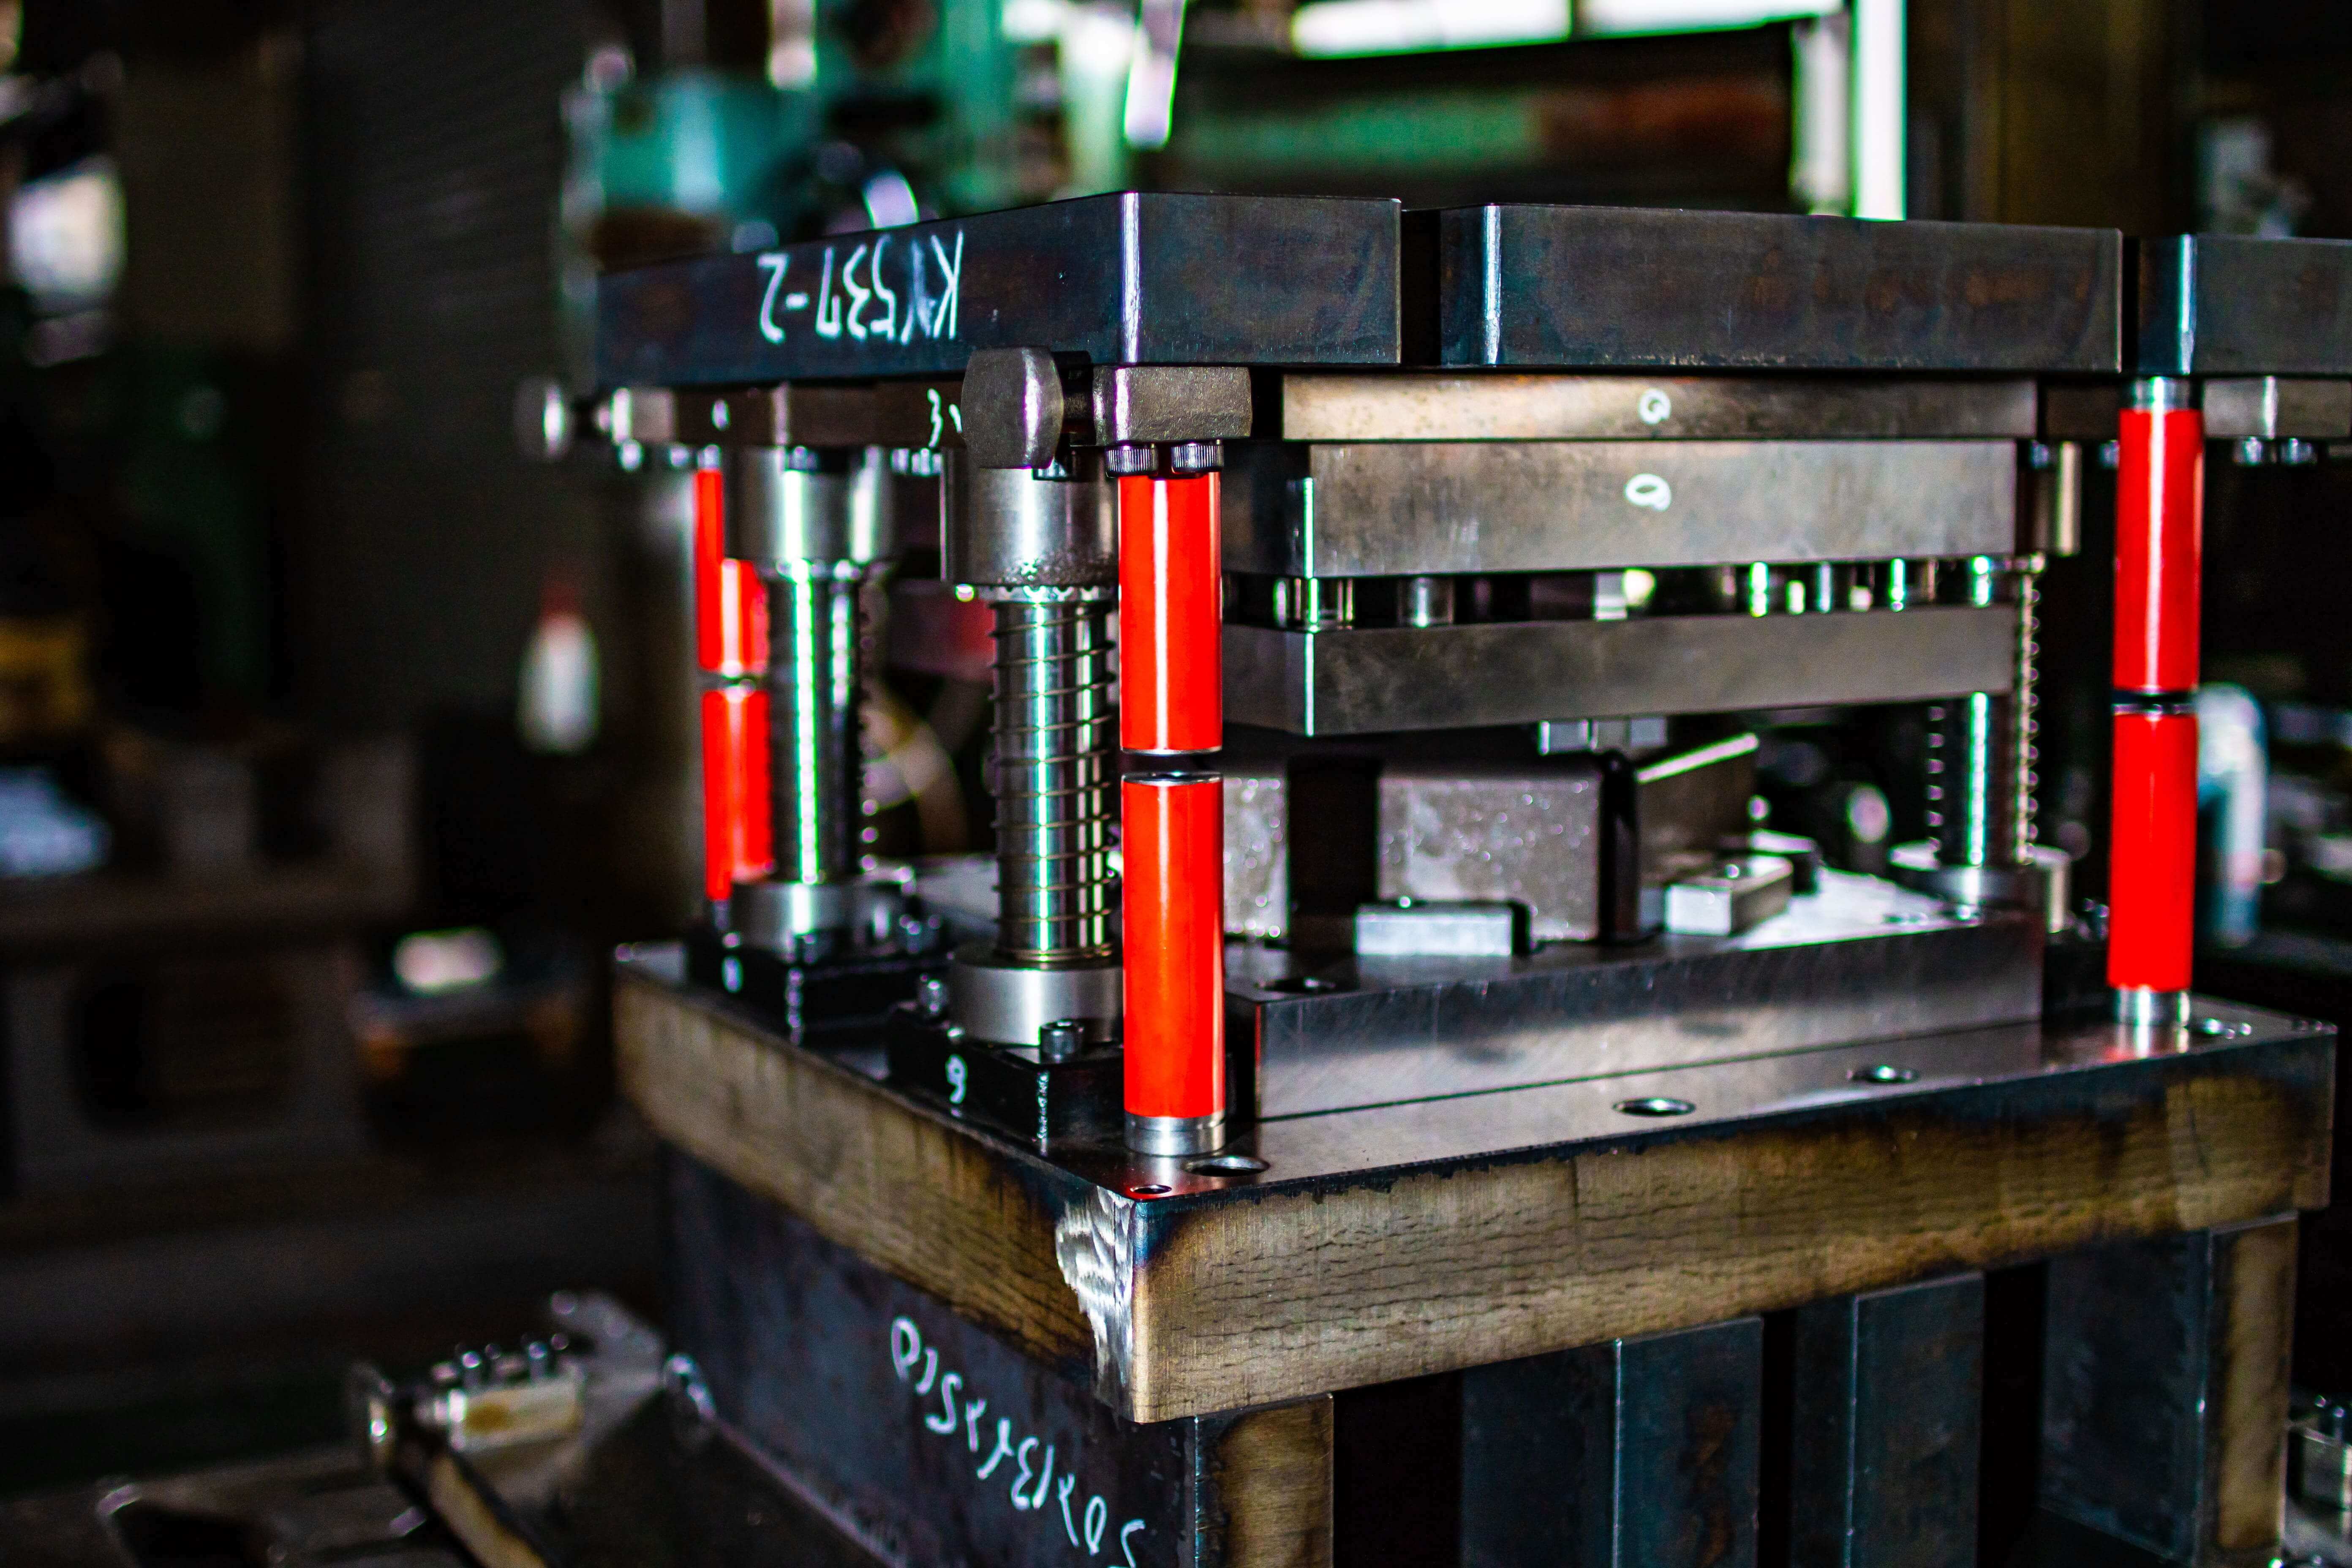
Mould DISASSEMBLY
Moulds should never be dismantled at random
without having a specific level in mind. Excessive handling of tooling components or over-maintenance of a mould, for example, increases the risk of
damage and wastes man-hours. To reduce bench time, time-based mould disassembly threshoulds (based
on cycles, hours, days, or parts produced) should be created.
In the industry, three steps of disassembly are common, with a fourth level involving a complete
mould rebuild. Wipe-down, General, and Major Disassembly are the most common.
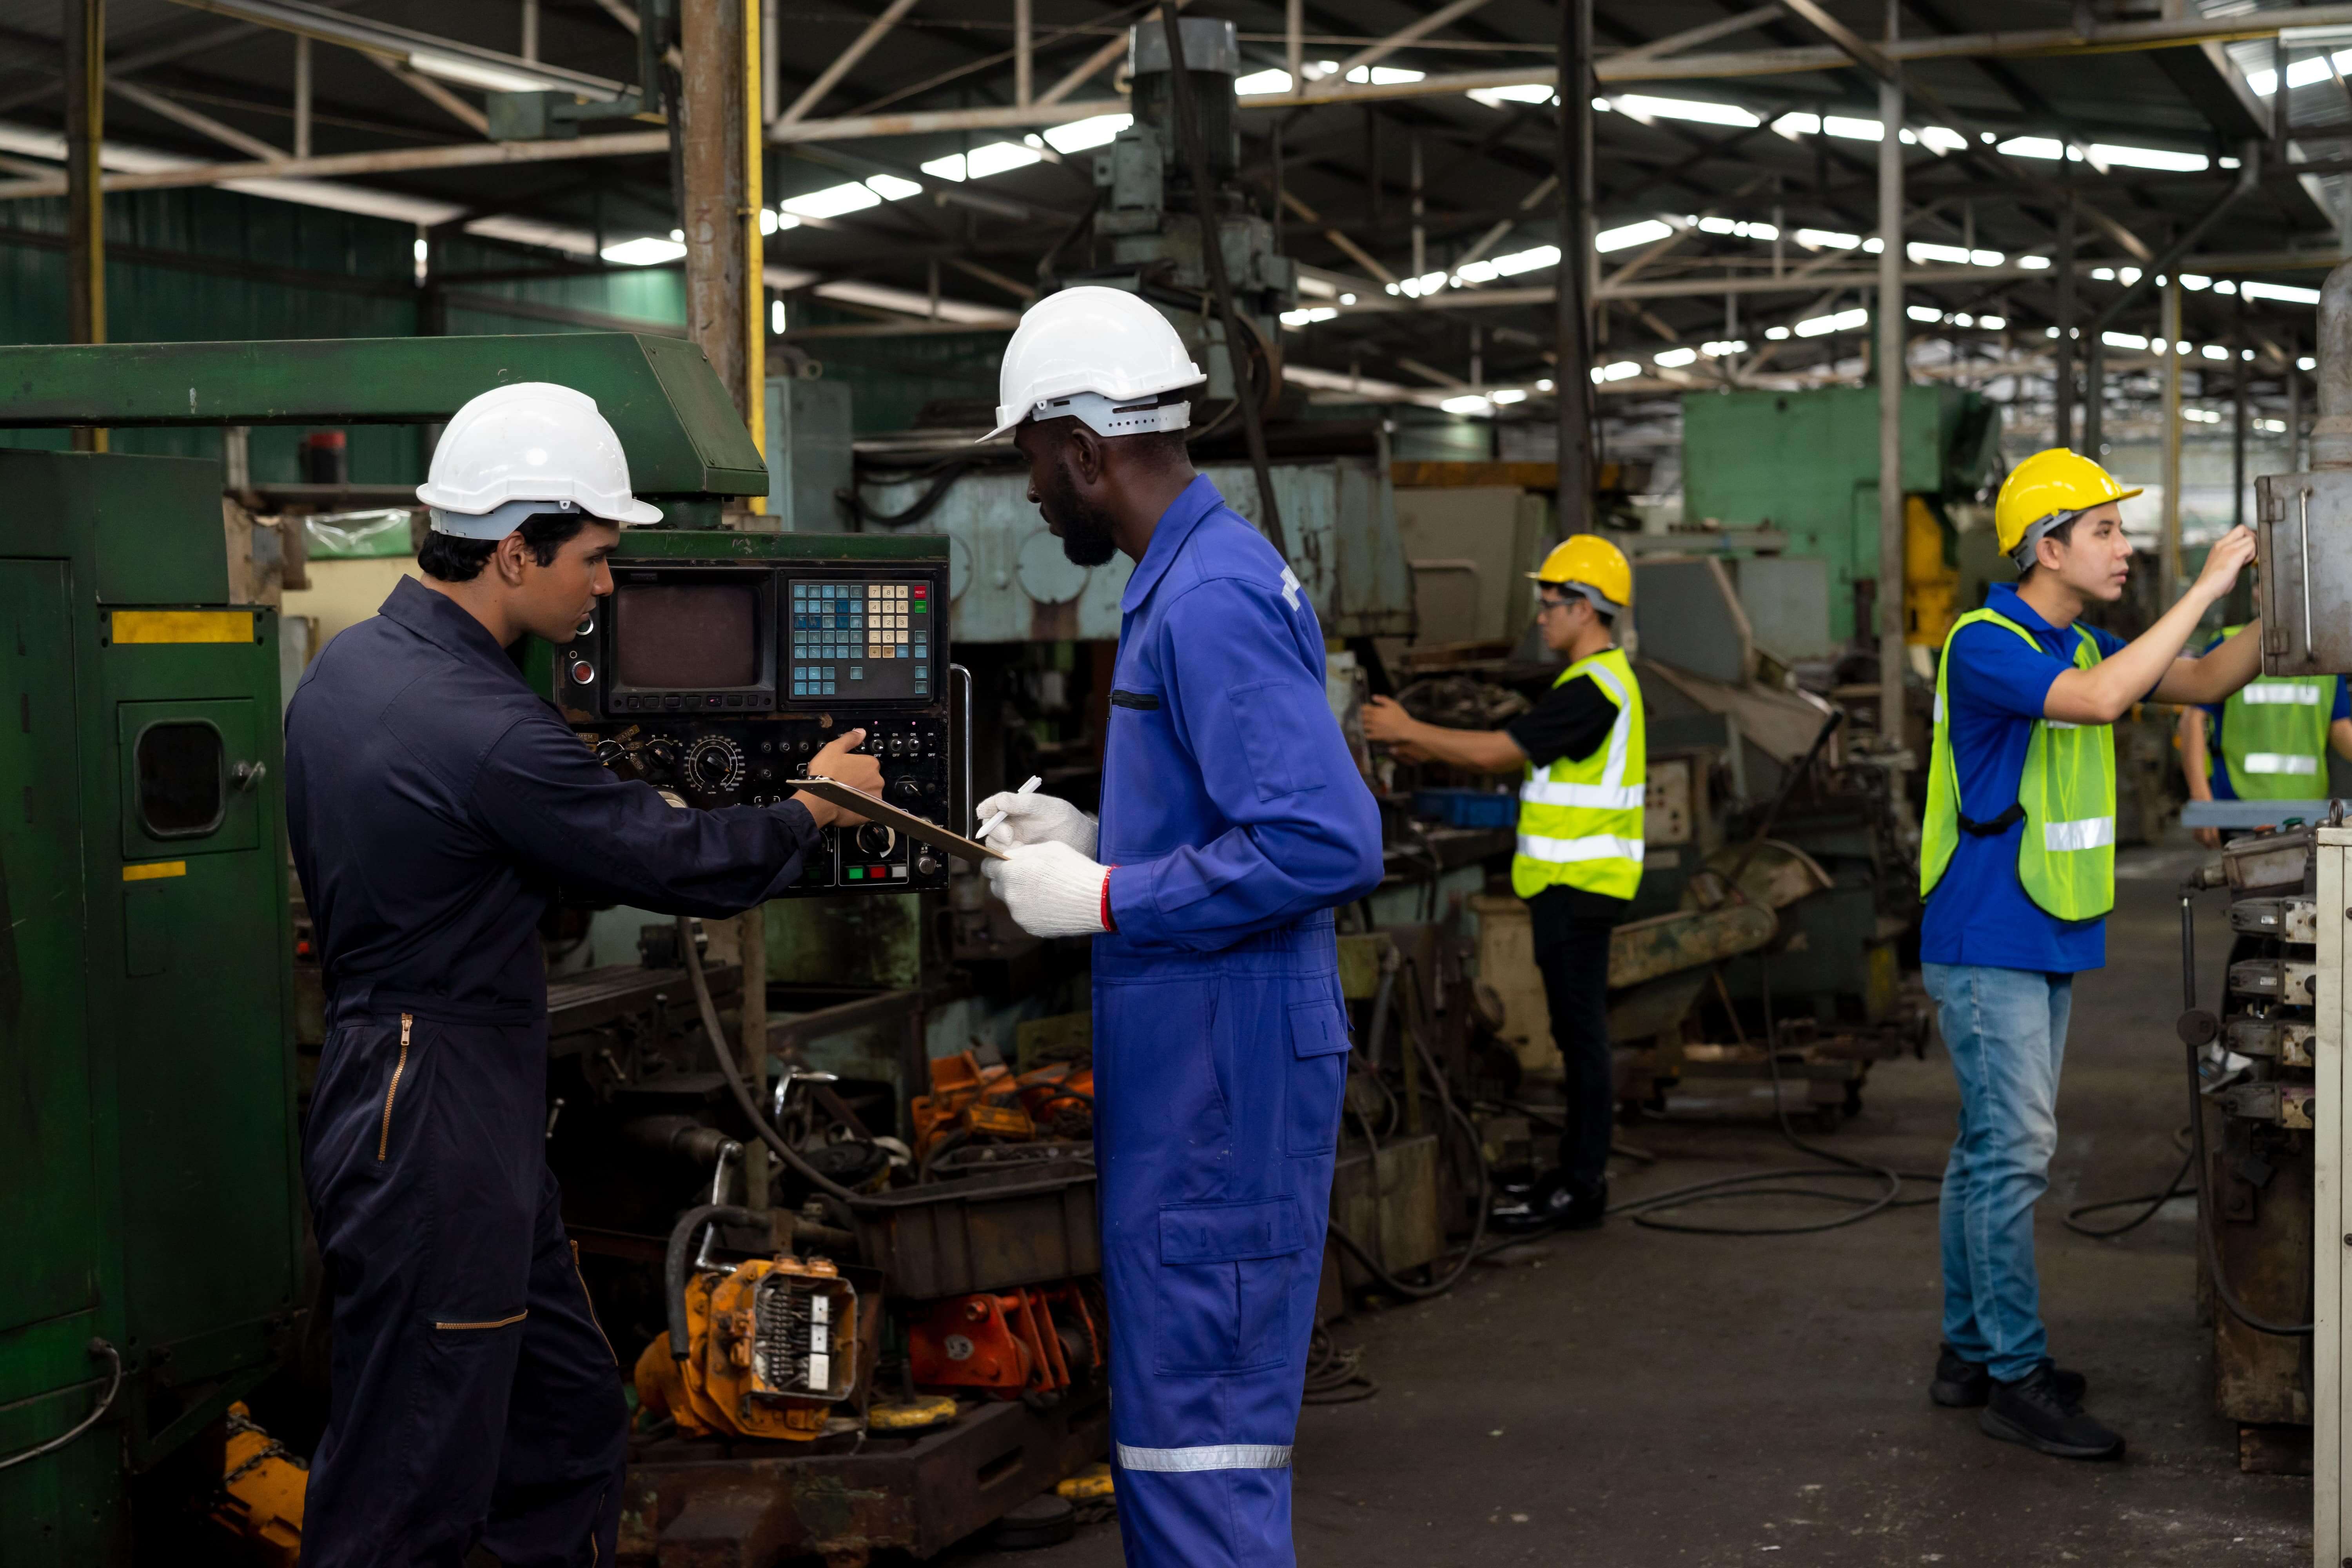
TROUBLESHOOTING
It is the third step in the process. Our professional technician's ability to recognize and relate current processing and production conditions (as revealed by tooling wear marks and residue characteristics) to historical data allows for accurate and efficient troubleshooting of past and present faults. Long gates, specific flash, and other issues are separated, studied, and then rectified one at a time.
CORRECTIVE MEASURE
Our expert technician's shop culture, experience, tools, and skill level enable effective, efficient, dependable, and professionally conducted corrective actions. The steps of troubleshooting and corrective action work together until all issues are rectified or a next action is chosen when problems are handled and remedied.
CLEANING UP
We put away all measuring devices and hand tools at this point and concentrate on cleaning the tool. The type, frequency and method of mould cleaning should be based on cycle, hour, or production combined with specific mould factors (resin, scale, vent location and capacity, application issues tools, etc.) will determine the degree and procedure of cleaning
ASSEMBLY
The assembly of precise mould and tooling components is a vital stage in mould repair—and the source of many avoidable, unplanned mould pauses (breakdowns). Our technician uses good craftsmanship, physical abilities, and structured work habits to complete the operation in a methodical manner, ensuring that any communication breakdown does not need disassembling the mould again to fix an oversight or install anything that was forgotten.
FINAL CHECK
Before any mould is released for production ("blue-tagged"), it must undergo a set of final-check bench operations to ensure "All Systems Go" and to reduce the chances of the mould being halted and returned to the shop for anything that should have been discovered before it was released. A final-check method helps prevent water leaks, heating troubles, and other issues.
STAGING
After a mould has been cleaned, repaired,
turned over, and final-checked, it is given a new status and transported to one of three locations: a houlding/storage area, a press, or a back-up mould. It might also be sent to a
third-party vendor for any repairs or finishing.
These mould remediation processes must be completed in order. The actions necessary and done in
each of the eight steps are dependent on the actions completed in the previous stage. To define
clear objectives in following phases, accurate data from previous stages is required.
Mahadevi Tools has been working in a systematic, stepwise manner to encourage a professional
approach that rewards technicians with increased efficiency, effectiveness, and consistency.